Remember the humble Autostart folder in Windows 3.1? You could simply add shortcuts to your favourite “apps” or documents to it which would automatically launch when Windows started. Except we didn’t call them “apps” in those days.
It’s still possible to use this handy feature in Windows XP, Windows 7 and even Windows 8.1 – however the way to accomplish the same goal has changed slightly over the years.
In this article I’ll show you how to do it. Before we start, have a shortcut to the programme in question ready on your Desktop. We’ll drag it into the appropriate folder in a moment.
Windows XP
- right-click START, then select EXPLORE
- double-click Programs, revealing several shortcuts and a Startup Folder
- double-click Startup
- drag your shortcut into this folder
The next time you restart Windows XP, your shortcut will be executed, starting the programme. Likewise, if you’d like to remove something from the auto-start routine, simply remove the shortcut from this folder. Happiness.
PS: Windows XP has had its day and is no longer supported since April 2014.
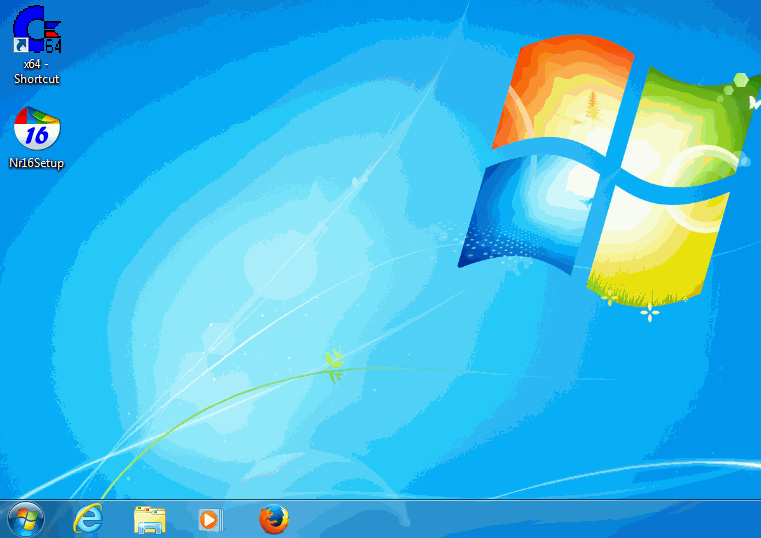
Windows 7
Very similar to Windows XP (see the animated gif at the top for a demonstration):
- click START, then select All Programs
- find the Startup folder and right-click it
- a new window will open up
- drag your shortcut into it
Next time you start Windows 7 your “app” will be started automagically. Remove the shortcut if you no longer need it to prevent it from being launched on startup.
Windows 8.1
Things have drastically changed in Windows 8.1, but with a bit of finesse we can get there just the same:
- open Internet Explorer (not a joke)
- type the following into the URL bar: shell startup
- a new Explorer window opens up
- drag your shortcut into it
And again, if you no longer need it, simply remove the shortcut from that folder. This also works on Windows 8.
Further Reading
- http://windows.microsoft.com/en-us/windows-xp/help/setup/run-programs-at-startup
- http://windows.microsoft.com/en-us/windows/run-program-automatically-windows-starts#1TC=windows-7
- http://support2.microsoft.com/kb/2806079
- http://www.softwareok.com/?seite=faq-Windows-8&faq=206