I like setting up barebones CentOS and other flavoured VMs on my Mac via Parallels Desktop. Trouble is, for such things like time synchronisation to work properly, something called Parallels Tools needs to be installed on each VM.
This is to make sure Parallels Desktop can speak to the VM and communicate with it properly. It’s more important for GUIs so that the screen resolution and mouse handling is more accurate.
Thing is, when you have a VM with a GUI, installing Parallels Tolls is extremely easy and may even happen automatically as soon as you install the OS. But if you have a command line only interface, it just doesn’t happen, and it’s up to us to install those tools manually. Here’s how to do it in CentOS.
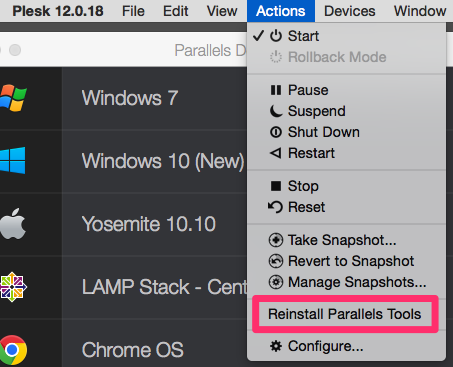
First, boot up your barebones VM and wait for it to start. Now head over to the VM’s menu and choose Actions – Install Parallels Tools. If they’re already installed, this message will change to “Reinstall Parallels Tools”.
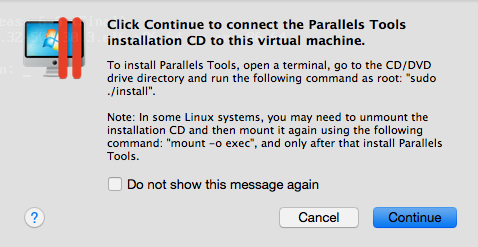
If your VM has a graphical user interface, this process will kick off the actual installation, but on barebones machines, it will merely attach the ISO image that contains the tools to your VM. In an ideal world, this tool would even mount the image for us, but sadly it doesn’t work with CentOS. Therefore we have a bit more work to do until we get to the installation part.
You’ll see the following message to confirm the attachment:
Now let’s login to our VM as root using our favourite SSH client (or simply use Parallels Desktop). We’ll create a directory to which we can mount the image. As suggested in the Parallels documentation, we’ll use /media/cdrom:
mkdir /media/cdrom
With this directory in place, let’s mount the ISO image to it so we can address it:
mount -o exec /dev/cdrom /media/cdrom
mount: block device /dev/sr0 is write-protected, mounting read-only
The message is fairly self-explanatory: no writing to that ISO image. No problem! To start the installation, enter the directory and call the install script like so:
cd /media/cdrom
./install
The script will greet us with a TUI and some steps we need to complete, one of which may be that some additional components (such as make and gcc) need to be installed. That’s not always the case on barebones systems. Lucky for us, the script will take care of this for us too:

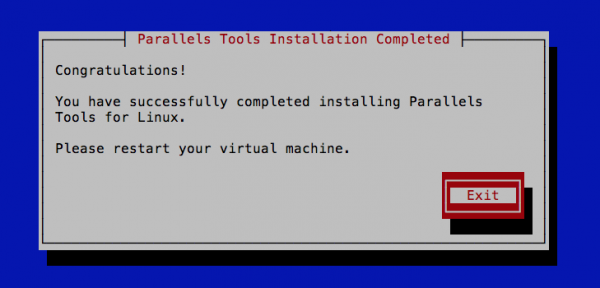
And that’s it! The script will finish fairly quickly, and at that point, Parallels Tools is installed in your VM. Congratulations! There’s only one final step: reboot the VM. You can either do that from the VM’s menu under Actions – Restart, or by issuing the following command:
reboot now

Broadcast message from root@yourserver
(/dev/pts/0) at 16:53 ...

The system is going down for reboot NOW!
As soon as the VM is back up and running you’re all set 
Further Reading: